Today I’m working on coloring pages for a new Children’s Book. As I was working I thought it might be interesting to see the numerous steps that I take to achieve the finished result. Every illustrator works differently, and each one has their own techniques, but here are mine:
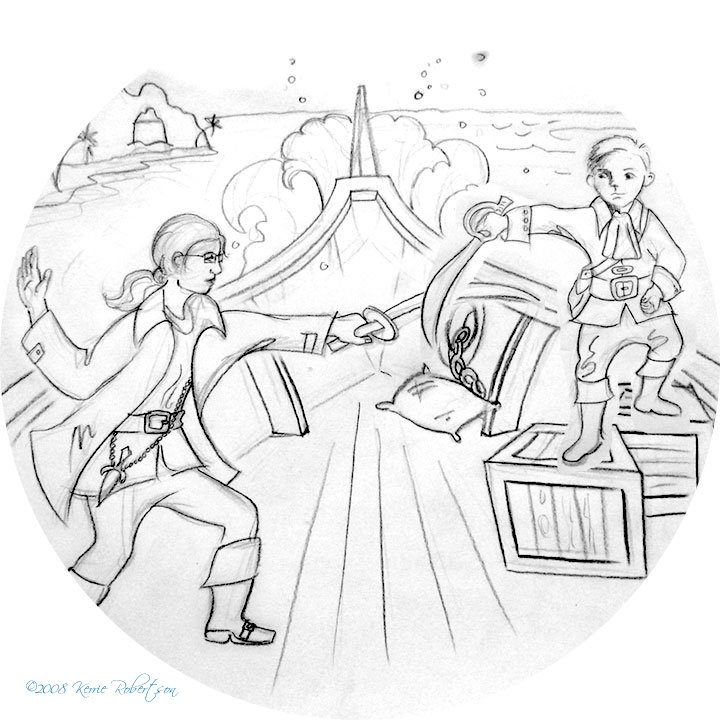
STEP 1: I use a blue colored pencil (not the non-repro blue; I find the pencil to hard to draw with as the lead is very dense) to draw in my line-work to work out the shapes and style. I then go over this with an HB graphite pencil and scan in the image. In my case, I don’t actually have a scanner, so I take a macro-shot with my digital camera and import this into PhotoShop to clean up. (A scanner is high up on my wish list!) Sometimes, I might rearrange elements in PhotoShop that I didn’t think were working as well as possible in the original sketch.
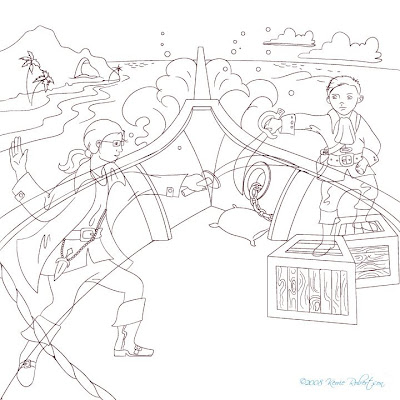
STEP 2: I open my sketch in Adobe Illustrator and with a personalized brush that I have created, go over my sketch and create linework. I make subtle changes to the style and shapes to help refine the sketch.
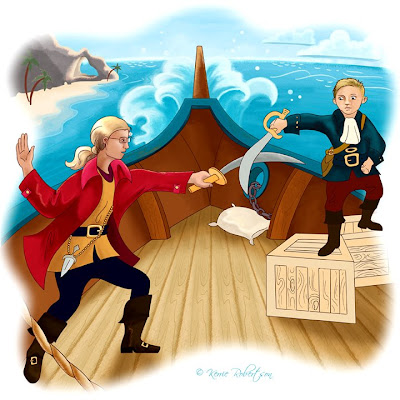
STEP 3: I add the color and refine the pallette in Adobe Illustrator. They have a tool called Live Paint Bucket, which is essential do doing these drawings quickly. Thank you Adobe! Here is where I start to notice little things that annoy me, like the girls sword tip lining up exactly on the edge of the ship – or tangent to this line. There’s also a few other areas and of course the rope needs to be brought in front of the girl, not under her leg to trip her.
 STEP 4
: I bring all of my layers into Adobe PhotoShop and start painting using a custom brush that I made. I want this to look like it was created in pastels, so it has a bit of a rough edge to it. This file is only 80% done at this point, however I’ll update it when it’s complete.